• Free shipping over £130
  • Fast delivery
  • Personal service
Cart

WEAVING INSTRUCTIONS – HERE'S HOW TO WEAVE WITH MICKI'S LOOM

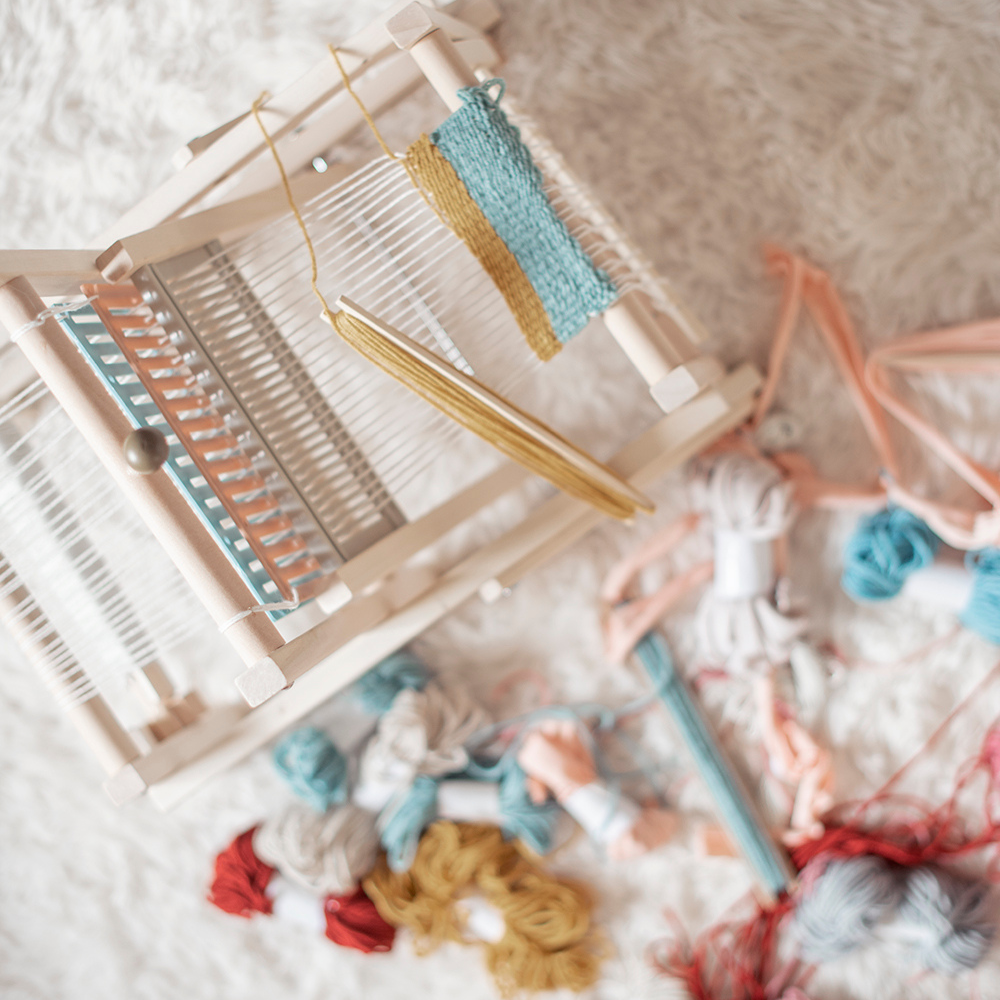
Micki's loom for children is a perfect toy for crafty hands that want to be creative! Sitting and tinkering with small, nice rugs for the dollhouse or a canvas for the flowerpot is fun for young and old. However, warping a loom and then threading the threads correctly can sometimes be challenging. In this blog post, we give those who enjoy tinkering step-by-step instructions for Micki's loom. 

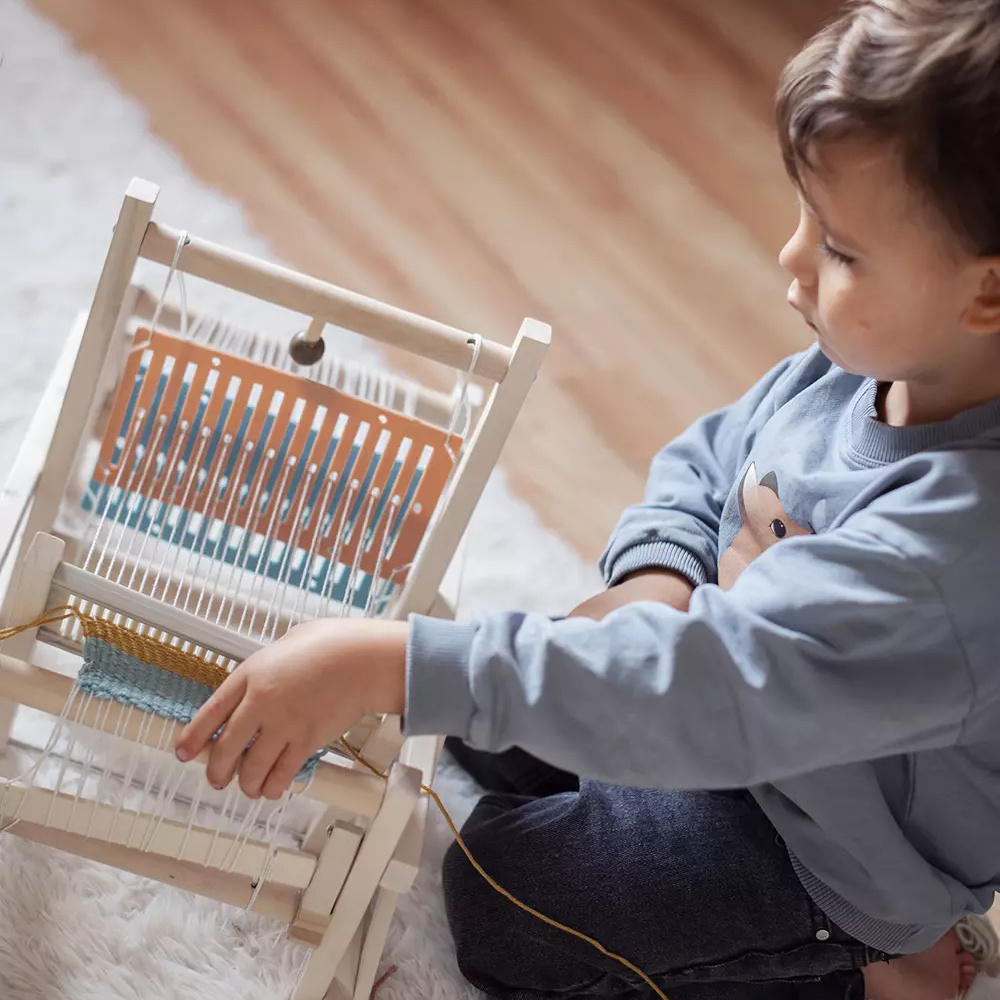
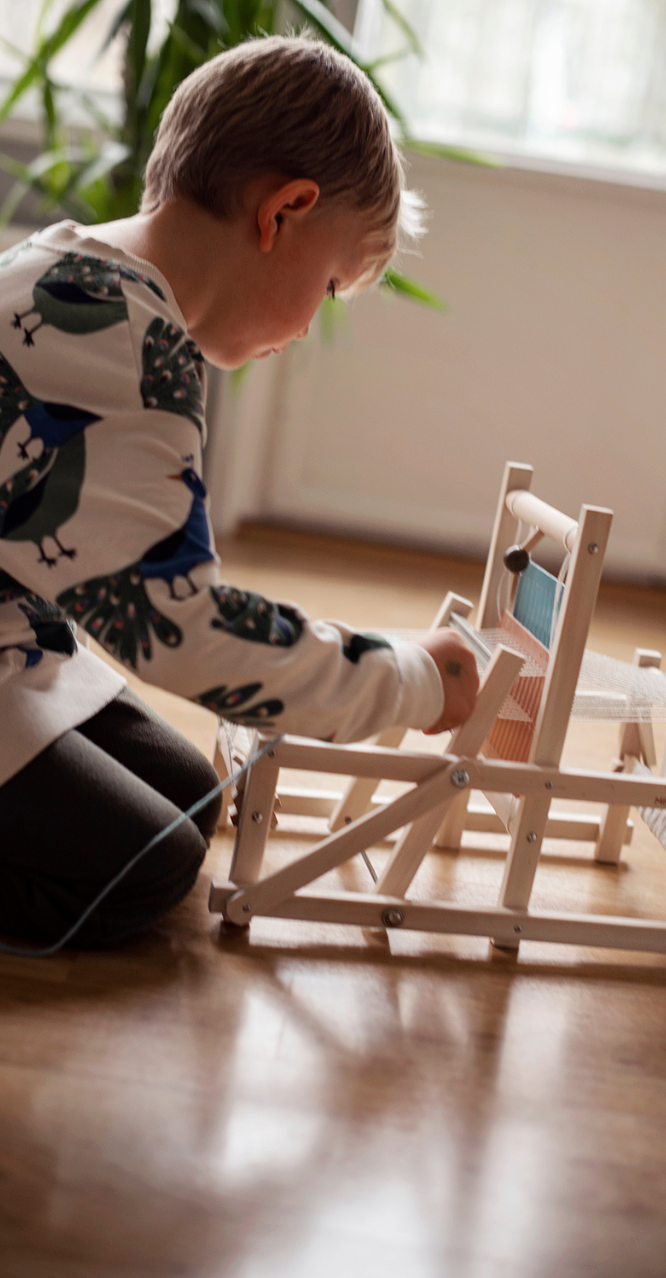
The children's loom invites hours of creative play

Micki's Loom for kids is a classic wooden toy that has been loved by generations! Loom weaving is a fun activity for both younger and older crafters who like challenges and enjoy tinkering with their DIY projects. Crafting is fun, but also an important way for the child to develop their creativity, get their imagination flowing and develop their fine motor skills.


BESTSELLER

Wooden toys micki weaving loom
image1

Here’s how to weave - instructions for Micki's loom

There are many different types of looms. The loom from Micki is threaded and ready in packaging and has a loom width of 15 cm. The loom includes 3 different yarns in different textures and colours. Feel free to complete it with other yarns! The loom comes threaded with rug warp 12/6 and is ready to use.

image2
image3

Assemble the loom and fasten the brace with the screws provided. Place the loom with the breast beam facing you. Turn the harness beam so that the shed adjusting pinpoints towards you and passes the shuttle through the shed. Push the weft with the beater. Then turn the harness beam so that the shed adjusting pin is pointing away from u and push the shuttle in from the other side using the beater. Repeat these steps. Don’t pack the warp too hard, as this will cause the weave to be pulled in at the sides.


When you’ve woven so much that it’s difficult to pass the shuttle through the shed, release the ratchet on the warp beam and slacken about two teeth. Then roll up the finished weave on the cloth beam. Make sure the warp tension is just right. If you’re weaving wide stripes, cut the yarn about 2 cm (0.8 inches) from the edge and pass the yarn around the outermost warp string and back into the shed. Then do the same with the new yarn. When the finished weave is to be removed from the loom, cut off the warp strings 6-8 cm (about 3 inches) from the weave and tie them together in pairs.

How to replace the warp

With video

  1. Cut out 13 pieces of 300 cm long pieces of warp thread (carpet warp 12/6). Position the loom with the boom facing you.  
  2. Begin by threading a yarn through the first hole on the far left of the loom.
  3. Thread the yarn through the first hole on the far left of the heddle plate (10) no.1 (middle)
  4. Thread the yarn through the first hole on the far left of heddle plate no. 2.
  5. Let the yarn rest on the rear breast beam and take the other end of the yarn you started with and thread it through the adjacent hole next to it.
  6. Thread the yarn through the first hole on the far left of the heddle plat no. 1 (middle).
  7. Thread the yarn through the second slot on heddle plate no. 2.
  8. Let the yarn rest on the rear breast beam.
  9. Pull back the threads but leave about 10 cm (3 inches) in front.
  10. Now take a new thread and repeat steps 3-12 and work your way towards the right edge until the loom is filled. Alternate placing it in the slit with placing it in the hole.
  11. Take a slightly longer narrow rod, such as a knitting needle, and pass it through all of the loops. Pull the threads at the back and tape the pin/ rod to the breast beam at the front.
  12. Put all the threads in the correct order so that they don’t intersect and turn the loom over, so you have the rear breast beam facing you.
  13. Make sure all threads are the same length and tie the ends together to the same thread.
  14. Ask a friend for help with removing/cutting the tape.
  15. Ask the friend to pull the rod/ knitting needle. Leave about 10 cm on the other side.
  16. Return to the rear breast beam (5). Thread all the yarn onto the wooden board.
  17. Attach the wooden board to the cords attached to the loom.
  18. Tighten the thread using your hands and straighten the threads so that the knots are placed by the wooden board, making sure that the threads are in order.
  19. Your friend should now pull the rod/ shuttle (or knitting needle) and keep the threads taut.
  20. Now wind up the thread on the warp beam and make sure you keep it taut. 
  21. Rewind until there’s about 5 cm left on the other side at the rod/ knitting needle and take the second wooden board and pass it through the loops.
  22. Attach the wooden board to the cords attached to the loom and wind up the last piece of wire on the bobbin.
  23. Finally straighten all the strands so that they’re lying in order and tighten them one last time.
Warping a loom and then threading the threads correctly can sometimes be challenging. Watch our video for step-by-step instructions on how to warp Micki's loom.